New Merchant
Table of Contents
1. Features
When your warehouse takes on a new brand client, create an independent 貨主 account for it here first. Once created, the client's products, inventory, inbounds, orders, and billing are all isolated under its own name, kept separate from other clients. This page only asks for the basic fields to get started; after creation the system takes you to the client's detail page to configure advanced items such as storage rates, shipping deadlines, and sender info.
Quick Jump: Basic Info | Billing Settings | Create
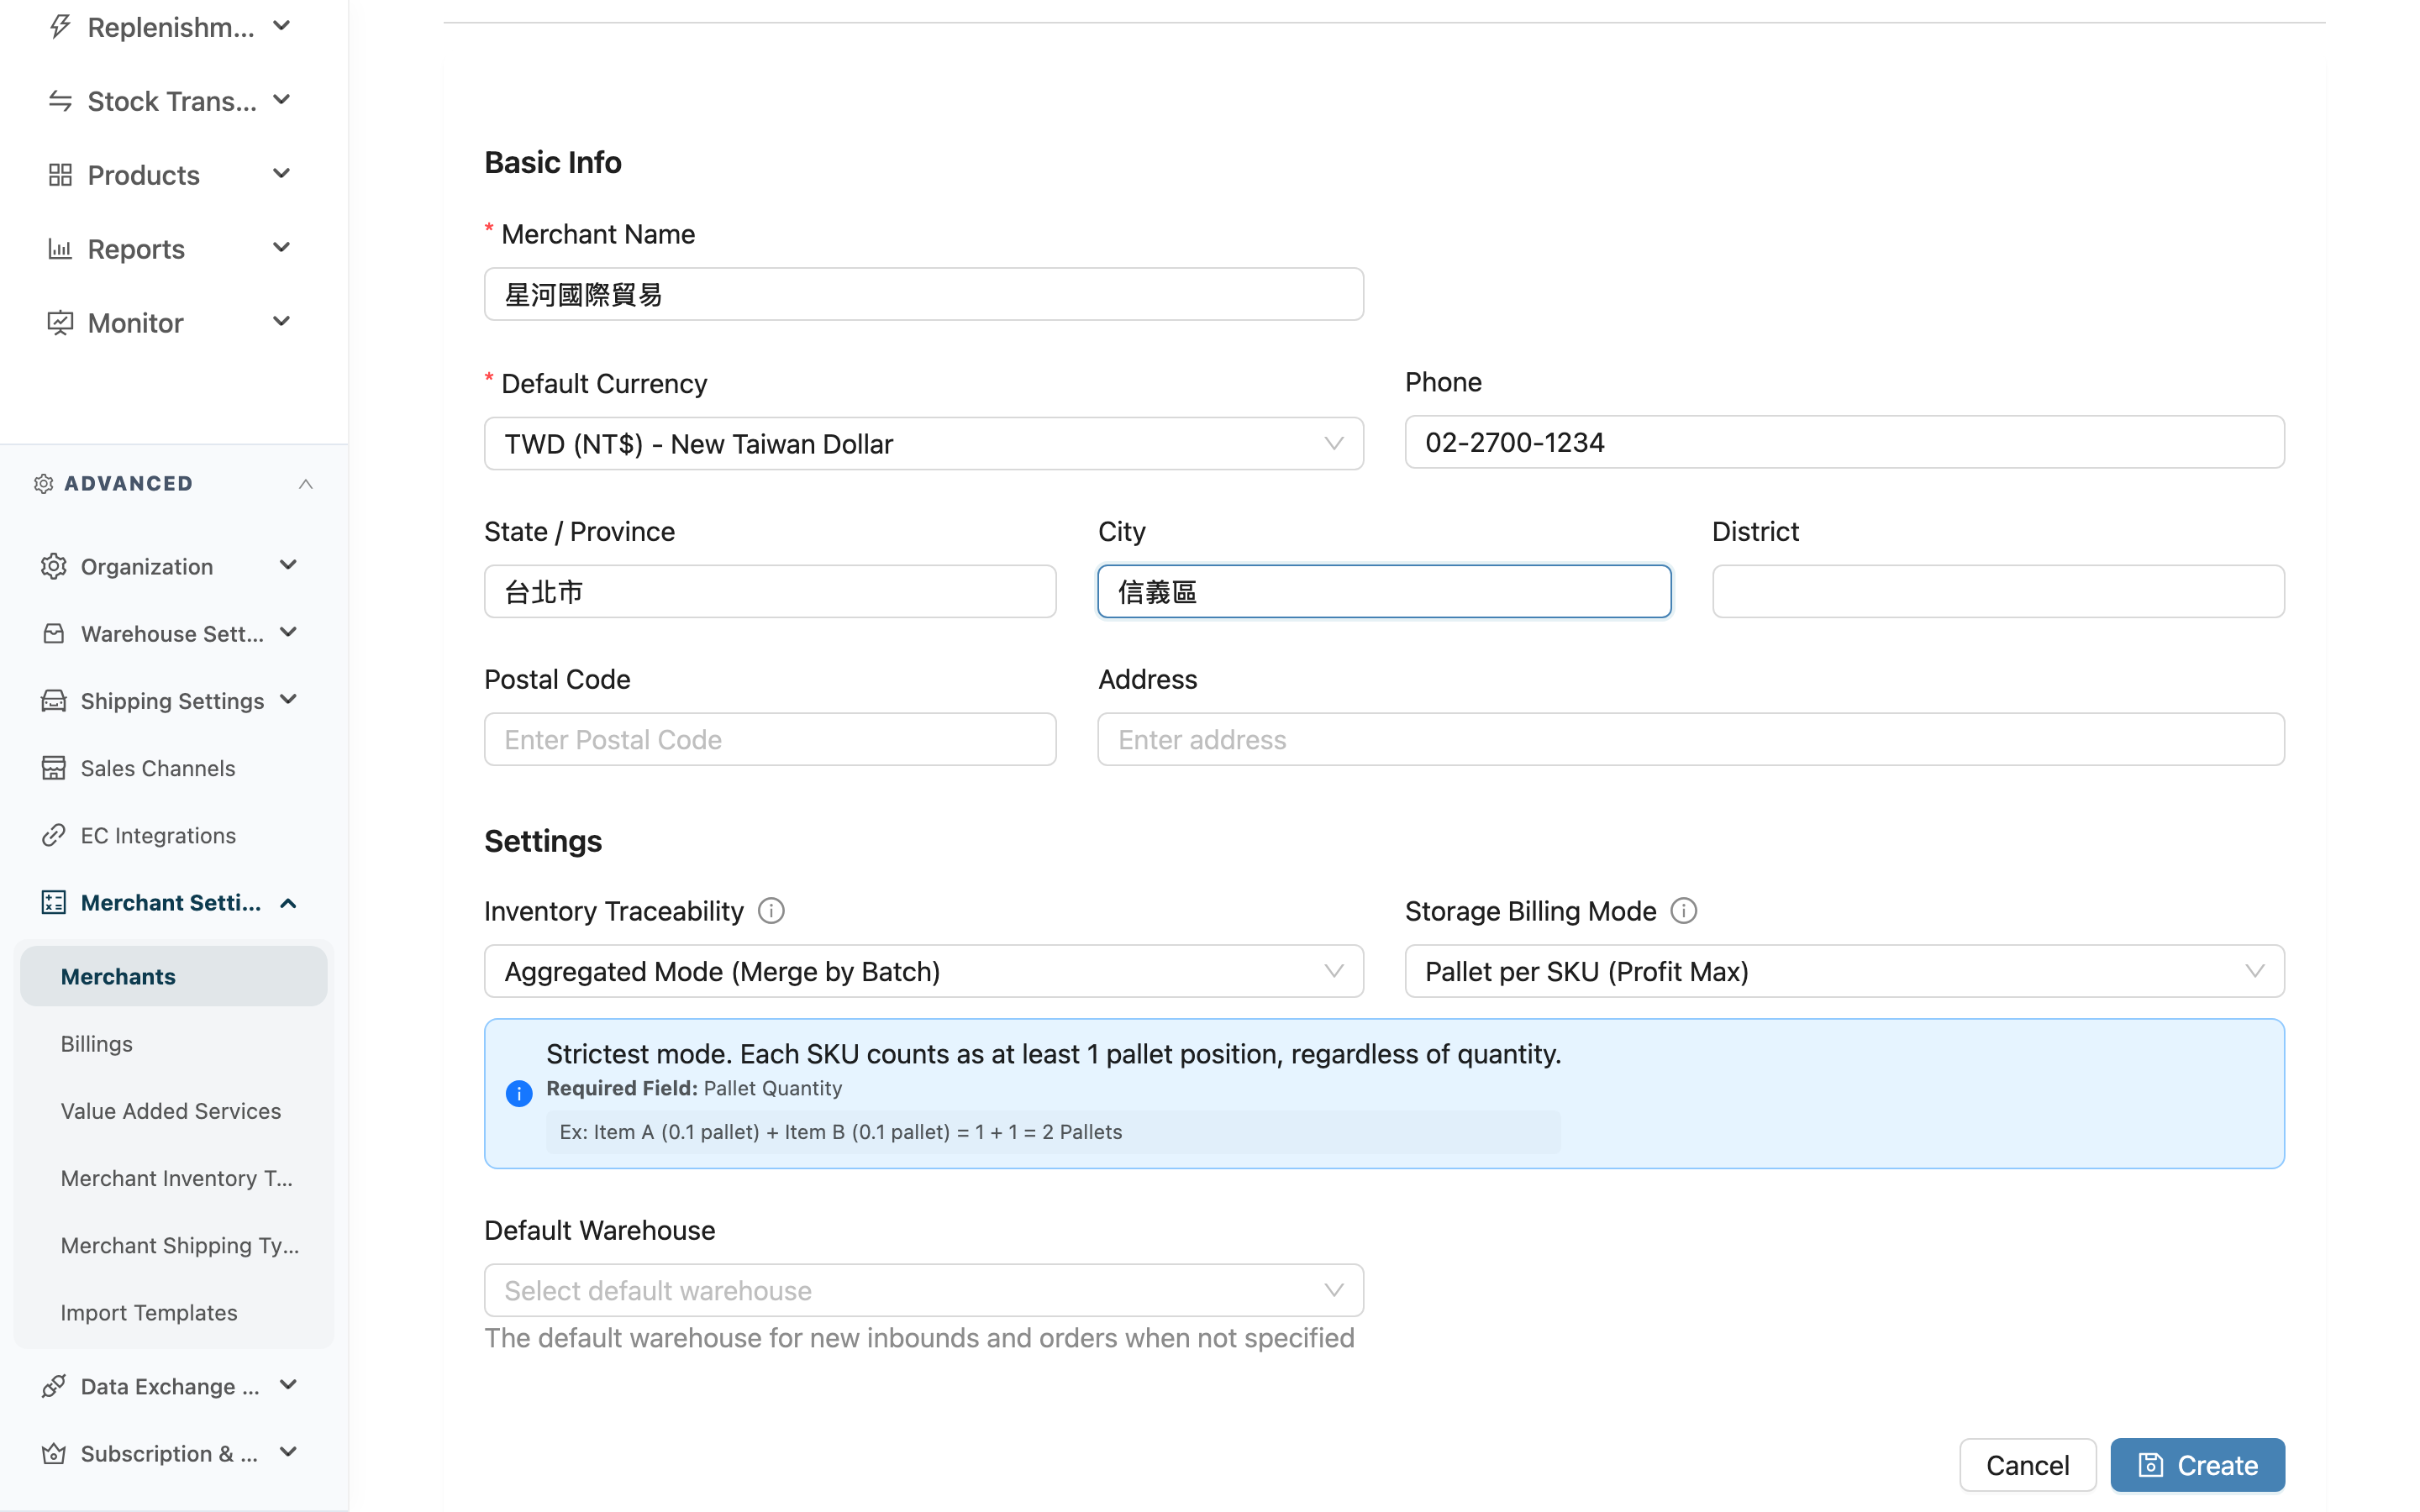
1.1 Basic Info
Enter the client's name and contact details.
Fields marked with * are required
| Field | How to Fill | Notes |
|---|---|---|
| *Merchant Name | Enter the client (brand) name | Required; must be unique among clients within the same organization |
| *Default Currency | Select the currency used for this client's settlement and quotes | Required; pre-filled with the organization's default currency |
| Phone / State / Province / City / District / Postal Code / Address | Enter the client's contact info by field name | Optional; can be filled later on the detail page |
1.2 Billing Settings
Set the inventory traceability mode, storage billing mode, and default warehouse. These are starter settings and can still be adjusted on the detail page after creation.
| Field | How to Fill | Notes |
|---|---|---|
| Inventory Traceability | Choose Aggregated Mode (Merge by Batch) or Isolated Mode (Separate by Inbound) | In aggregated mode, products with the same batch and expiration merge; isolated mode keeps them separated by inbound document, suited to goods needing strict source traceability |
| Storage Billing Mode | Select how storage is calculated | Once chosen, the mode's calculation note and required inbound check-in fields show in real time |
| Default Warehouse | Select this client's default warehouse from the list | New inbounds and orders land here when no warehouse is specified; auto-filled when there's only one warehouse |
The storage billing mode determines the required fields at inbound check-in. For example, choosing a mode that needs pallet quantity means pallet quantity must be entered at inbound, or the storage estimate will be inaccurate. See Merchant Details & Settings for the differences between modes.
1.3 Create
After filling in the required fields, click Create to submit. On success a confirmation message appears and you are taken to the client's detail page, where you can then set assigned warehouses, rates, SLA, sender info, and account invitations (see Merchant Details & Settings). To abandon, click Cancel to return to the client list.
When you create a client, the system automatically assigns this new client to you, so it appears immediately in your Merchants list.
2. FAQ
2.1 FAQ
▪ Why is there no place to set storage rates after Create?
The create page only takes the basics and the billing mode. Rate prices, SLA, sender info, and account invitations are all configured on the detail page after creation, which the system opens automatically once creation succeeds (see Merchant Details & Settings).
▪ Can the Merchant Name duplicate another client's?
No. Client names must be unique within the same organization. Entering an existing name will show an error on create — use a distinguishable name instead.
▪ What happens if I leave Default Warehouse blank?
You can create it blank. When left unspecified, the system uses your current warehouse as the default, and you can still adjust the assigned and default warehouses on the detail page later.
▪ Do I have to choose the right Storage Billing Mode at creation?
Not necessarily. The billing mode can be changed on the detail page after creation; it mainly affects future required fields at inbound check-in and the storage estimate, not the basic data already created.
▪ What if I can't find the create page?
Creating a client requires merchant management permission. If you can't reach this page or don't see the entry, ask your administrator to confirm your permissions.
2.2 Notices
⚠️ Important
- The Merchant Name must be unique within the same organization. It can be changed after creation, but the bound products and documents all belong to this client, so name it carefully.
- There is no delete after a client is created. If created by mistake, open the detail page and switch the status to Inactive.
💡 Tip: You can create with rough basic and billing settings first and refine the warehouses, rates, and shipping deadlines on the detail page later — no need to fill everything on the create page at once.
3. Related Features
| Feature | Description | Link |
|---|---|---|
| Merchants | Back to the client list | Go |
| Merchant Details & Settings | Configure rates, SLA, sender info, and invitations after creation | Go |
| Billings | Generate client invoices based on the billing mode | Go |